Command Line Image Optimization
ImageOptim-CLI is a handy little command line tool (OS X only) by Jamie Mason / @fold_left that incorporates ImageAlpha, ImageOptim and JPGmini. It can be automated as a git pre-commit hook for fire and forget front end development, something I’ve found useful.
Pre-Commit Hook
Add hook to: your_project/.git/hooks/pre-commit
images=$(git diff --exit-code --cached --name-only --diff-filter=ACM -- '*.png' '*.jpg')
$(exit $?) || (echo "$images" | imageoptim && git add $images)
JPGmini does carry a price tag at the Mac App Store, so one would need to evaluate if regular use of JPEG calls for it. On the other hand, open source projects ImageAlpha and ImageOptim are pretty much the best tools in class when dealing with PNG.
I took the tool for a spin on this blog. Even though it is not image heavy, over the course of incarnations I have had a few images accumulate in my public/images folder, currently at a modest 1.5 MB after subtracting sundry animated GIFs. (There are many volumes worth of material to be written about animated GIF optimization and compression, so I will stick to JPEG and PNG for now.) I obtained some large PNG and JPEG images to give a good sample size of 37.8 MB on our test run.
After hitting it with ImageOptim-CLI, the folder’s size became 16.2 MB, a savings of 21 MB or 42.9%. Not too shabby. Now you get to figure out the presentation of your images. Since this is Jekyll, perhaps something simple like using Front Matter to create a photo gallery as in this tutorial: Jekyll Tips. Since we are not using the image gallery anywhere else, it makes sense to do this instead of creating a Jekyll Collection.
Add the image list to the Front Matter on this post:
---
images:
- image_path: /assets/img/PNG_JPEG/png_wolf_by_itsdura-d3cle9k.png
title: PNG Wolf
link: http://itsdura.deviantart.com/art/PNG-Wolf-202552184
- image_path: /assets/img/PNG_JPEG/apple.png
title: Apple
- image_path: /assets/img/PNG_JPEG/coffee_beans.png
title: Coffee Beans
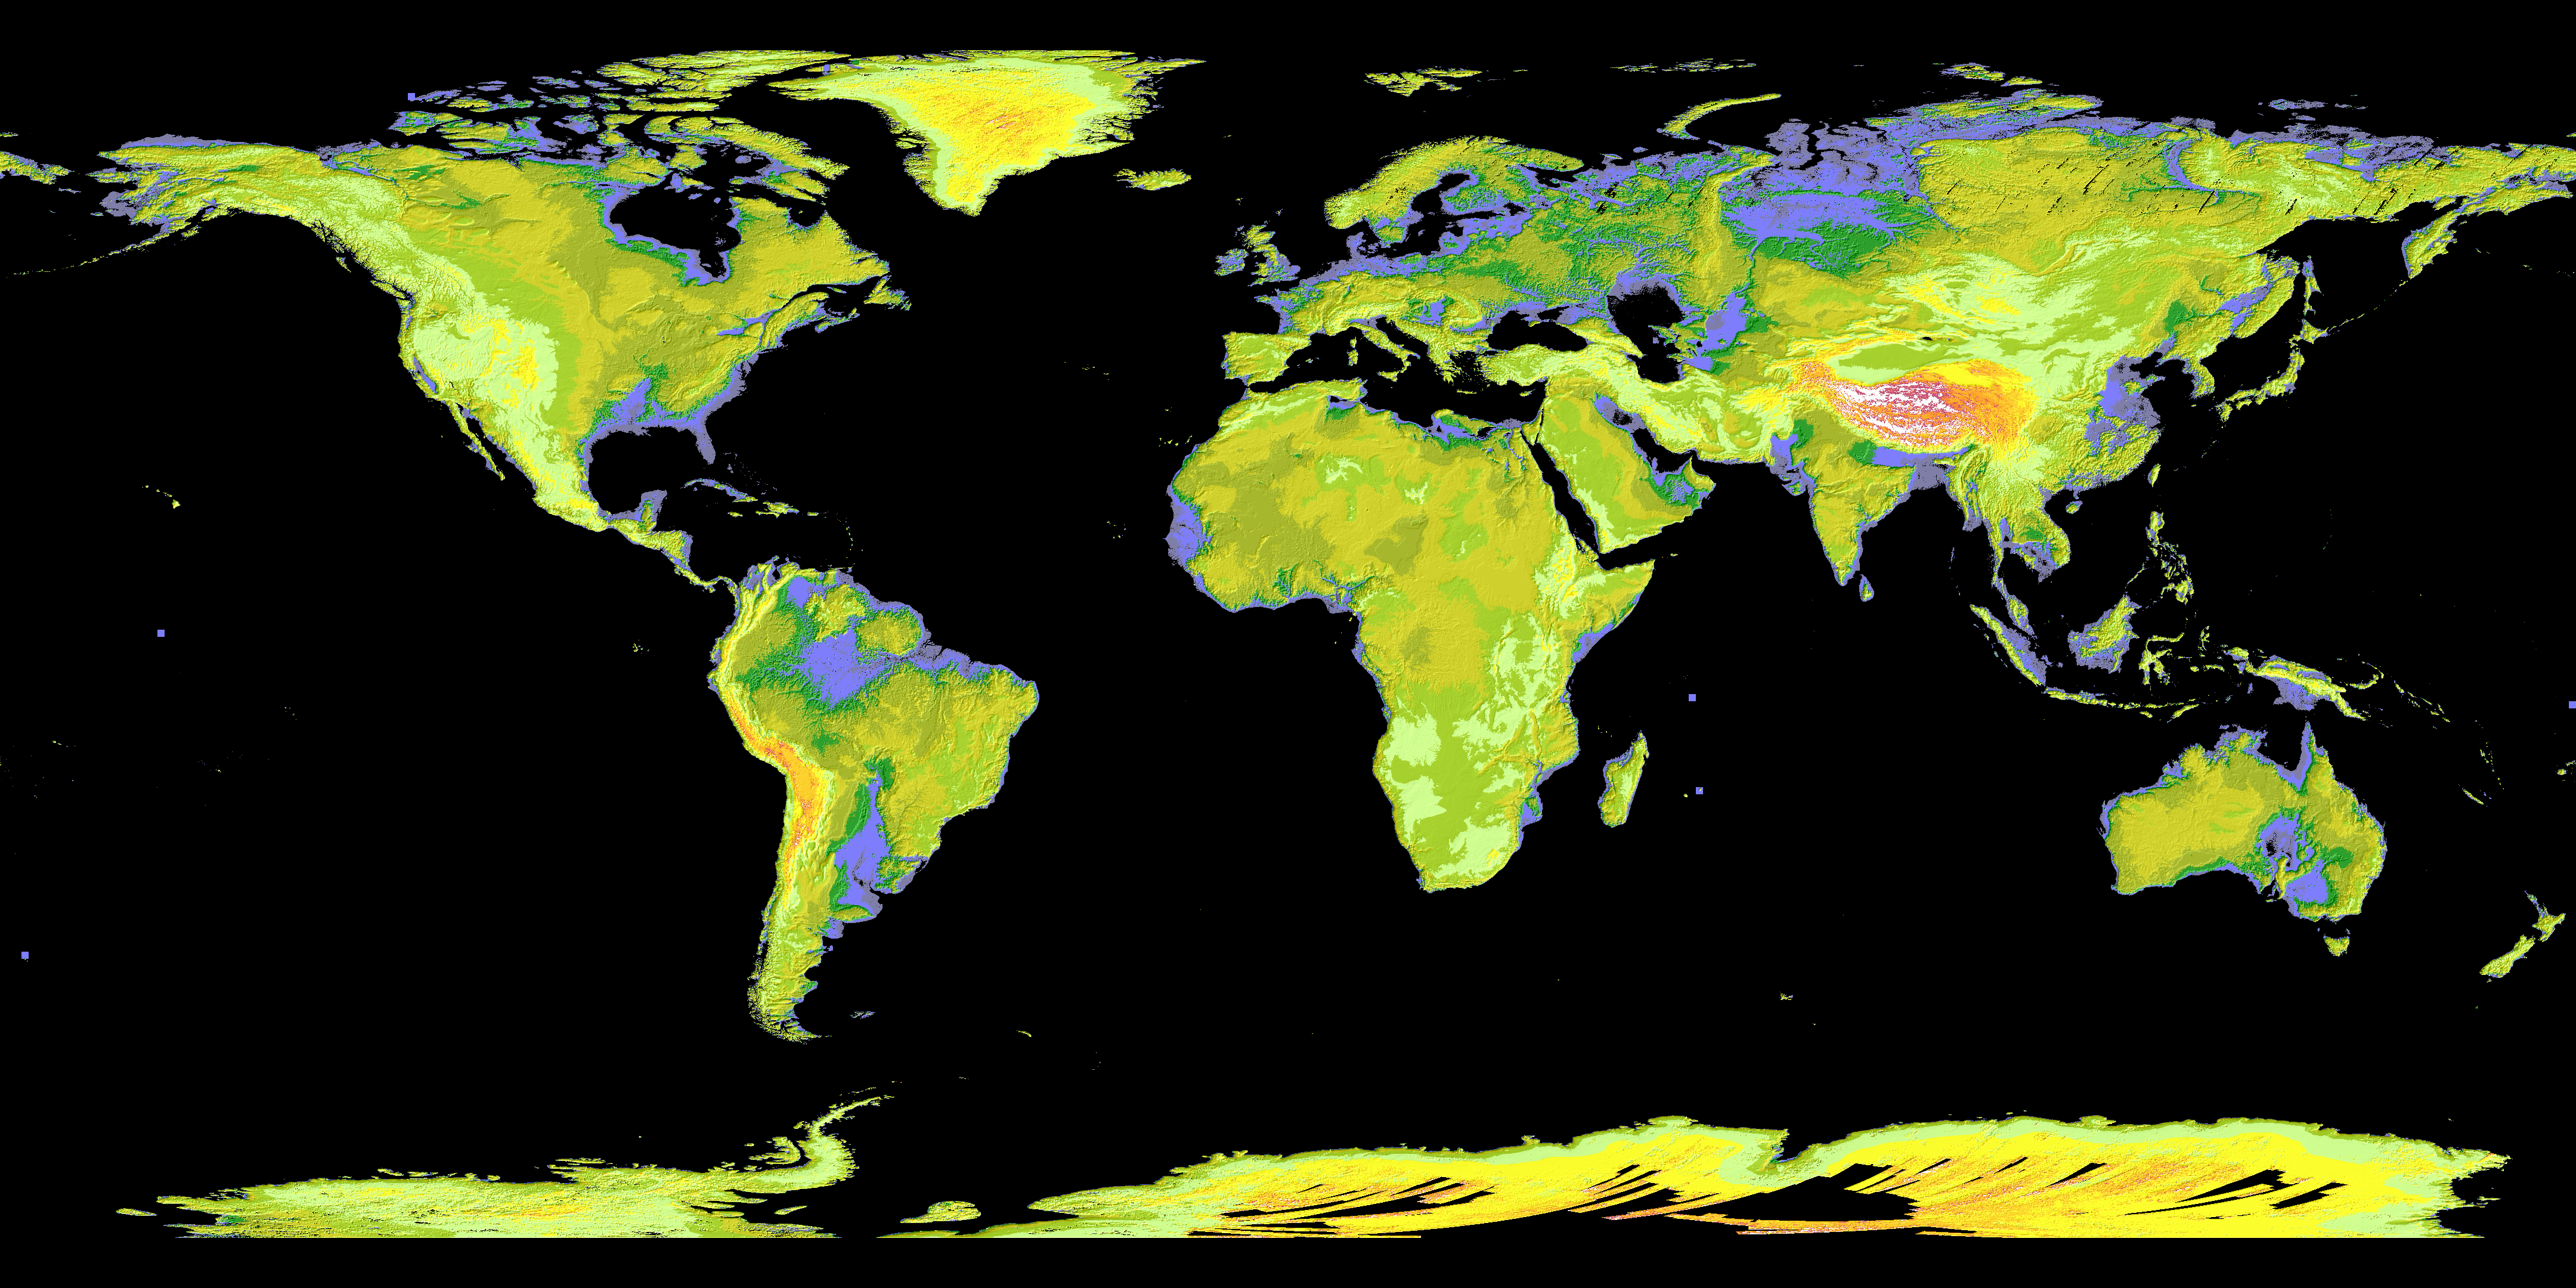
- image_path: /assets/img/PNG_JPEG/GDEM-10km-colorized.png
title: ASTER image of world
- image_path: /assets/img/PNG_JPEG/Pillars_of_Creation.jpeg
title: Pillars of Creation
- image_path: /assets/img/PNG_JPEG/Star-forming_region_S106_%28captured_by_the_Hubble_Space_Telescope%29.jpg
title: Hubble star-forming region S106
- image_path: /assets/img/PNG_JPEG/Japan.jpg
title: Japan
- image_path: /assets/img/PNG_JPEG/Cat.jpg
title: Domestic Cat
---Then we add code on the post to loop through the array of images. We can even add links to each image to make them clicky, (a highly technical SEO term.)
  <ul class="photo-gallery">
    {% for image in page.images %}
      <li>
        <a href="{{ image.link }}">
          <img src="{{ image.image_path }}" alt="{{ image.title}}"/>
        </a>
      </li>
    {% endfor %}
  </ul>
(Incidentally I learned about using the raw tag for Liquid templates inside code blocks.) Finally, the CSS to present the images:
.photo-gallery, .photo-gallery li {
  list-style: none;
  padding: 0;
}

.photo-gallery li {
  display: inline-block;
  width: 33%;
}

.photo-gallery li img {
  width: 100%;
}
The finished result is a quickly-loading, easily-configurable gallery of optimized photos:


I really liked using ImageOptim-CLI and would recommend it to automate the process. Even when not using this command line tool at all, image optimization should be a part of every front end developer work flow.
In closing, ImageMagick must be mentioned as the gold standard of open source command line image manipulation. It allows amazingly fine grain control and has excellent documentation well beyond the scope of this humble post.
Docs: